Imagine yourself in this situation: you are attempting to mount a new tire on a wheel but are unable to do so despite your best efforts. Numerous bikers have experienced this situation.
While most riders can usually handle mounting a tire on a wheel without too much difficulty, even seasoned cyclists occasionally encounter situations when getting the last portion of the tire bead over the edge of the rim calls for superhuman strength and steely thumbs. You might be able to patch a punctured bicycle tire yourself. However, if the wear is too great or the damage is too serious, you will have to replace the tire with a new one.
Since tubeless-ready tires are built with tougher beads and to stricter tolerances than identical clincher tires, the popularity of tubeless tires and rims on the road has increased the frequency of such problems. You need to use proper technique while mounting or replacing tight bicycle tires to avoid tension, sore thumbs, and damage to sensitive or pricey bicycle components.
The easiest approach to guarantee that your tires are fixed with the least amount of difficulty is getting your tire-mounting technique up to par. Proper technique is crucial because tubeless-ready tire and wheel components are becoming more common on bikes of all types.
In this article on how to replace a bike tire, we’ll go over the correct method for changing a bike tire—both assembly and removal.
1. Deflate the tire and remove it
Remove the wheel from the bicycle and pump air into the inner tube if the tire hasn’t already been completely deflated. The pointy valves, known as the Presta Valves, can be deflated by gently loosening the small barrel at the top and pressing it into the valve’s body. After that, release the valve ring that holds it to the rim and remove it.
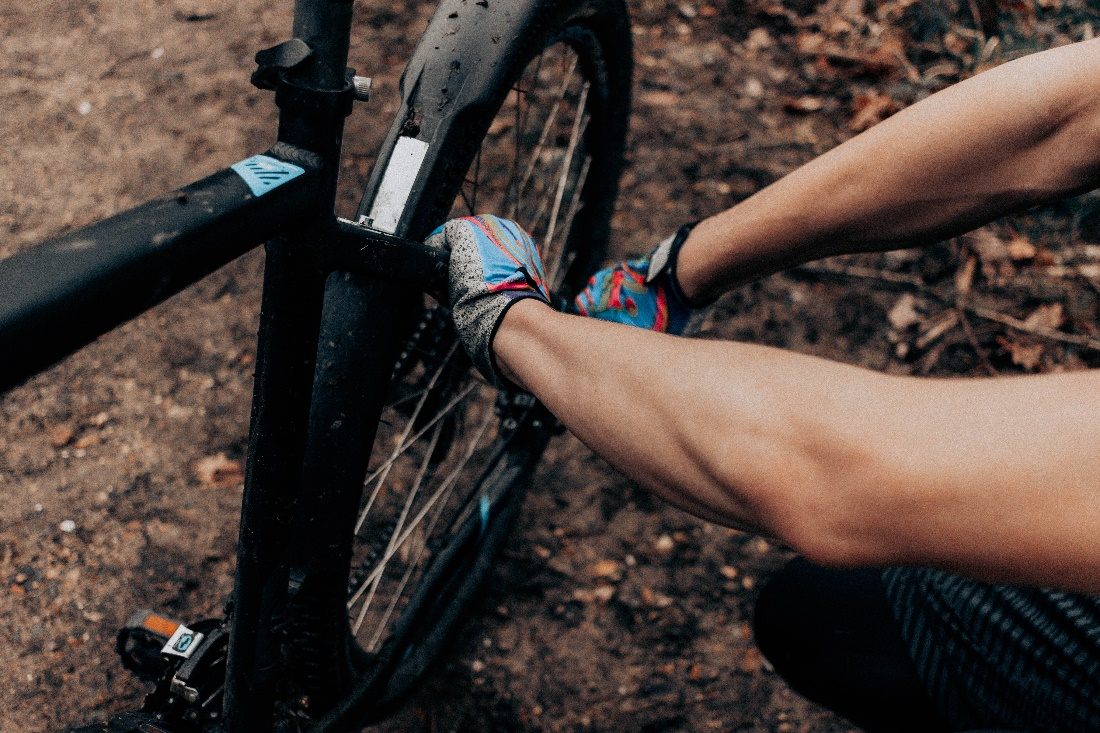
When the inner tube is completely deflated, work your way around the tire, pulling it inward until the bottom (edge) of the tire sits in the middle of the rim. Perform this on both sides to give yourself some breathing room.
2. Remove the tire with your hand
If the tire does not fit snugly, you can shake the tire to bring all the slack to one spot. If not, turn the tire so that the valve is at the peak and begin pushing it downward in both directions around the rim’s circumference. Flip the tire, so the loose piece is at the top, being careful not to lose your amount of slack in the process. Squeezing ever-increasing amounts of tire laxity all the way around on both sides will help you attain the maximum workable slack as your hands approach the bottom of the wheel.
3. Removal of the tire using the lever
You’ll be required to use tire levers if the tire is tight. Raise the tire up and above the rim by applying downward pressure to the lever. By merely moving a sole lever around the inside of the tire, you can remove it off the rim. You might need to utilize two levers at other times.
By wrapping the first lever around a wheel spoke, you may lock it in position.
4. Check the inner tube size
Make sure your inner tube is the appropriate size for your tire first. The tire diameter range is printed on the tube’s side for reference. The tube will expand to accommodate a larger tire than is advised, leaving it dangerously thin. It could be tough to insert a tube too large into the tire.
Check to see if the valve extends far enough into the rim. Give yourself some extra room because a 60mm valve inside a 50mm deep rim will only allow for 10mm of poking through. With a press-fit pump head that is far too short of providing a satisfactory seal.
5. Fit in the tire and the tube
Install one tire side on the rim. Align the valve hole with the name of the tire or the logo—that makes it much simpler to locate the valve if you need to inflate the tire quickly. If you’re looking for a puncture hole, it also provides you with a point of reference between the inner tube and tire.
After that, slightly inflate the inner tube to give it some shape rather than leaving it completely flat. As a result, it is less likely to become wedged between the tire and the rim. Insert the inner tube valve through the rim and push it as far up into the tire as possible to prevent it from protruding over the rim.
6. Fit the second side of your tire
Start reinstalling the tire’s second edge right away. Start by using your thumbs, and be careful not to trap the inner tube against the rim or under the tire. To produce slack while installing the tire, try to squeeze it around the rim in the same manner you did when you removed it. That will make it much simpler to put the final bit on.
Get as far with your thumbs as possible because doing so obviously eliminates any possibility of locking the inner tube between the tire lever and the rim.
7. Fit the tire with levers
Take your levers, however, and place them underneath the tire edge at each corner of the unfitted part after you reach the “no further” sign. To remove the inner tube from the way, push it further up into the tire. Next, hook the lever’s spoon side over the rim.
Lever the tire onto the rim slowly, working your way toward the center of the unfitted piece as you use each lever in turn. Be careful not to trap the inner tube as you re-insert the levers every time because the tighter it gets, the more likely it is that you will. Take your time, too, because putting the tire back on a little at a time will make it simpler and less likely to result in tears.
8. Inflate the tire
Check for any areas where the tube might be stuck or the tire is not installed correctly. If everything looks good, connect the pump and begin slowly inflating while keeping an eye out for any protrusions or uneven tire lift that could indicate a stuck tube. If not, you risk making a very loud bang and restarting the procedure when you start pumping.
Reinstalling the wheel involves putting it onto the bicycle and, if necessary, securing it with the lug nut or quick-release lever. Once the tire is fully inflated, take out the pump and use the lock ring to secure the valve in the rim. If you replaced the rear tire, raise the chain back up onto the gears and rejoin the brake wires.
The End Note
Regular bicycle maintenance and safe storage can help keep a bike in good condition. Keep note of all minor parts, such as nuts, latch rings, or valve caps, as you work to repair or replace them. Despite being small, they are crucial to the bicycle’s operation, and if one is lost during a repair, it may lead to another issue that must be fixed before you use the bike again.


